I managed to get hold of a 6M Larcan unit in 2016 after my 4CX1000A amp started giving trouble.
After studying the vast information placed on the internet by the Larcan modification pioneers, I took guidance from their excellent modifications and suggestions to break in my unit for daily use.
Most of the modified 6M and 2M Larcan units with pictures available on the internet show an approach more weighted towards functionality rather than to have a desktop showpiece.
As my unit would be operated remotely at my 6M EME station in a closed container there was no need to add much bling to it but I decided to at least try and add some semblance of presentability while keeping functionality intact.
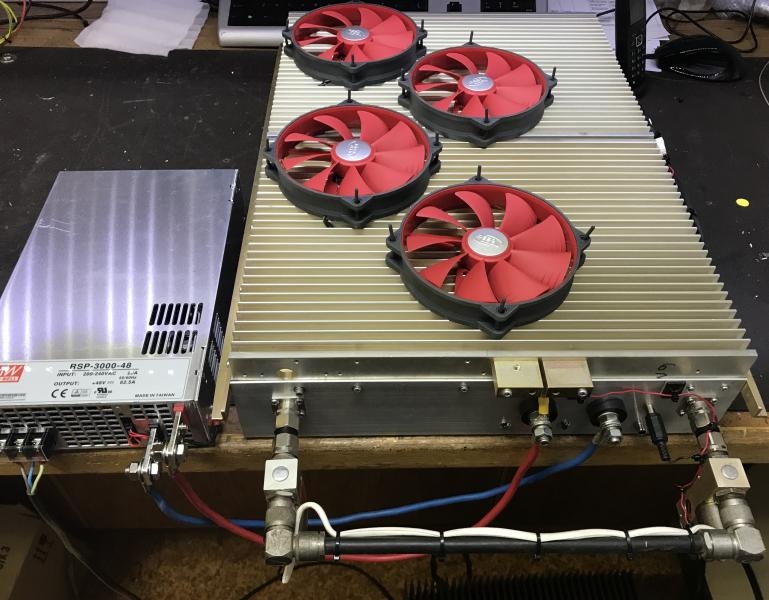
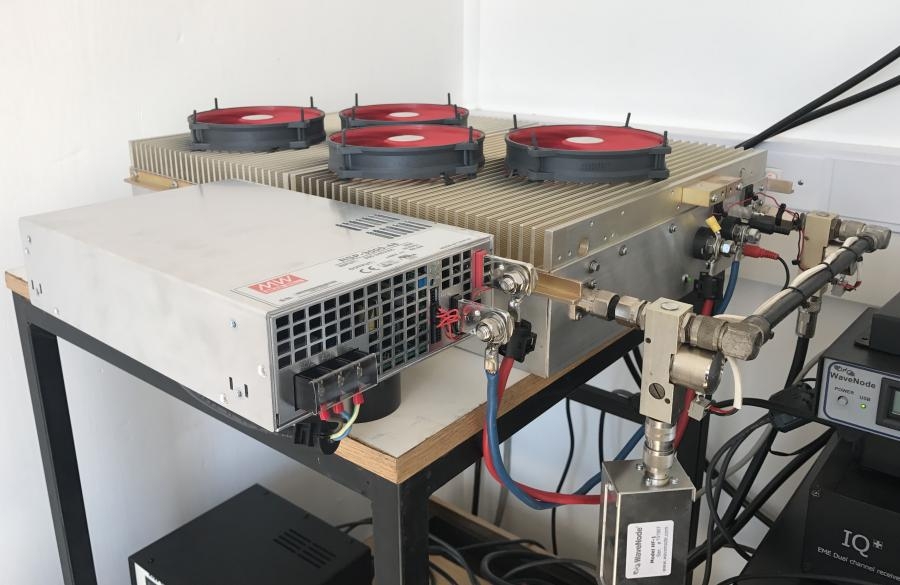
Picture 1 below shows the unit after all the modifications for 6M use has been done but the DC and RF input and output connectors are still stock standard Larcan.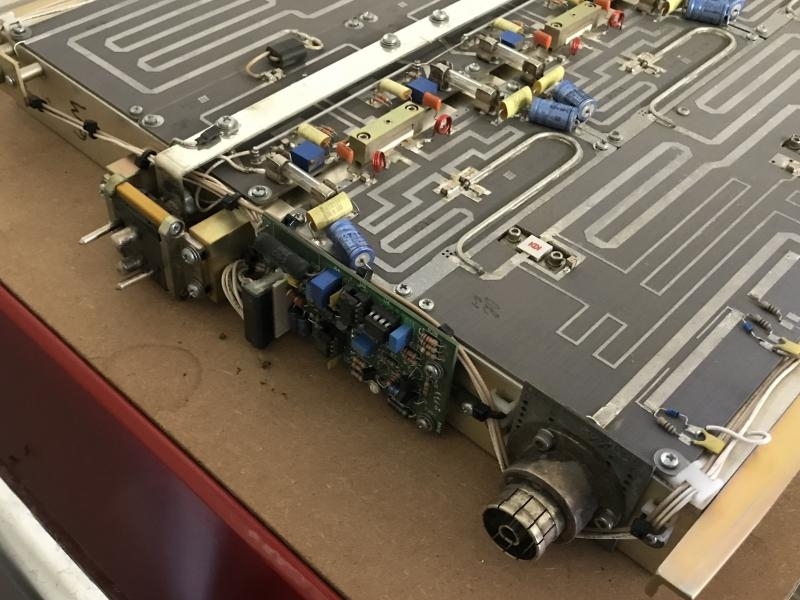
Picture 1: ZS4TX Larcan Amplifier.
After viewing all the available modifications on the internet I decided to remove the clutter at the front of the unit and to find a different place to mount the VSWR/Control board and to devise a different DC connection for the 50V supply rail.
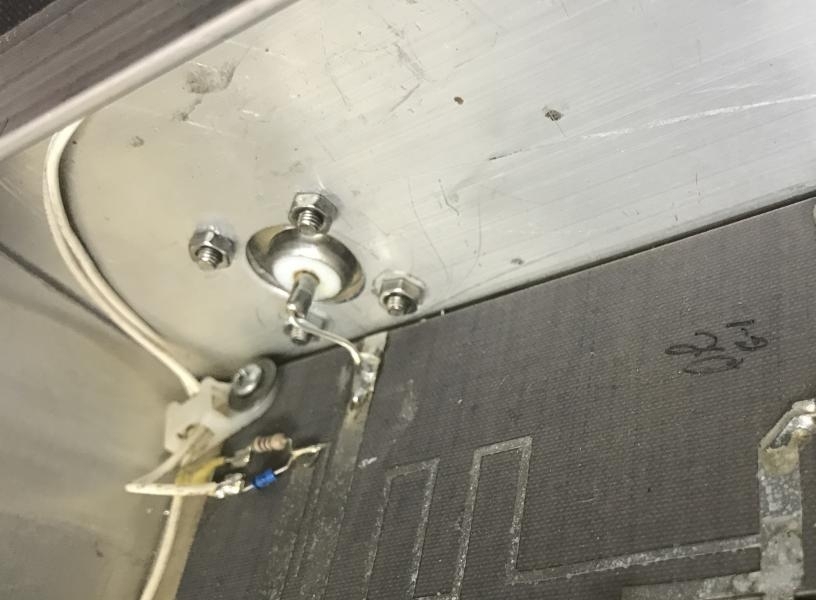
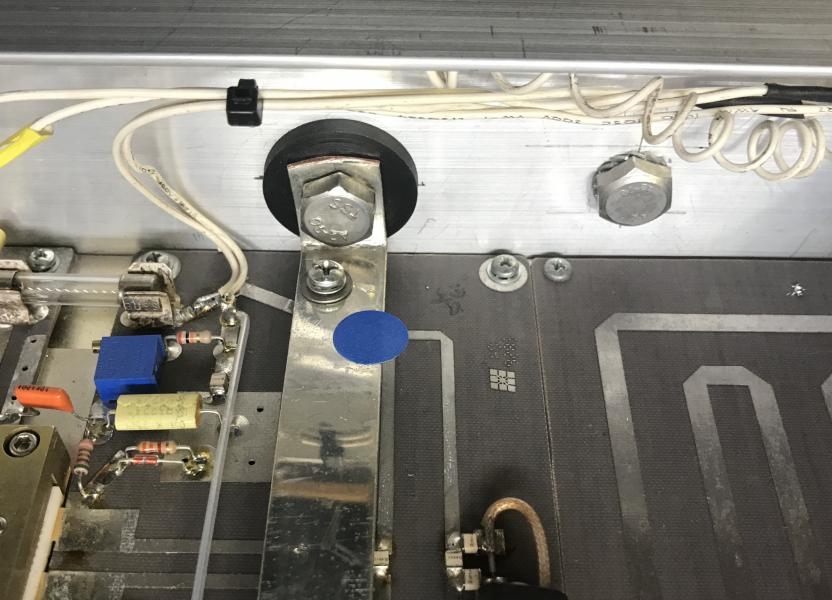
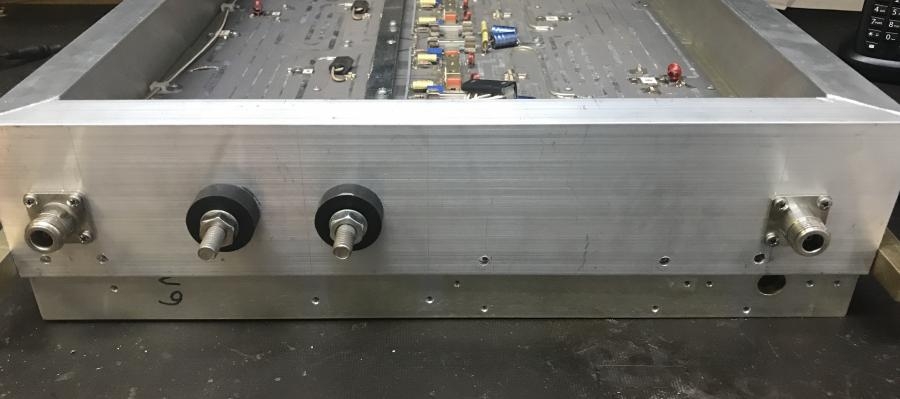
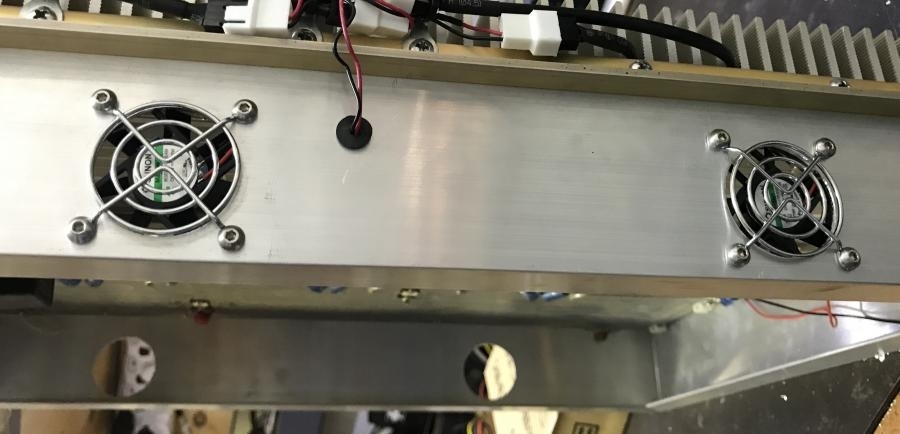
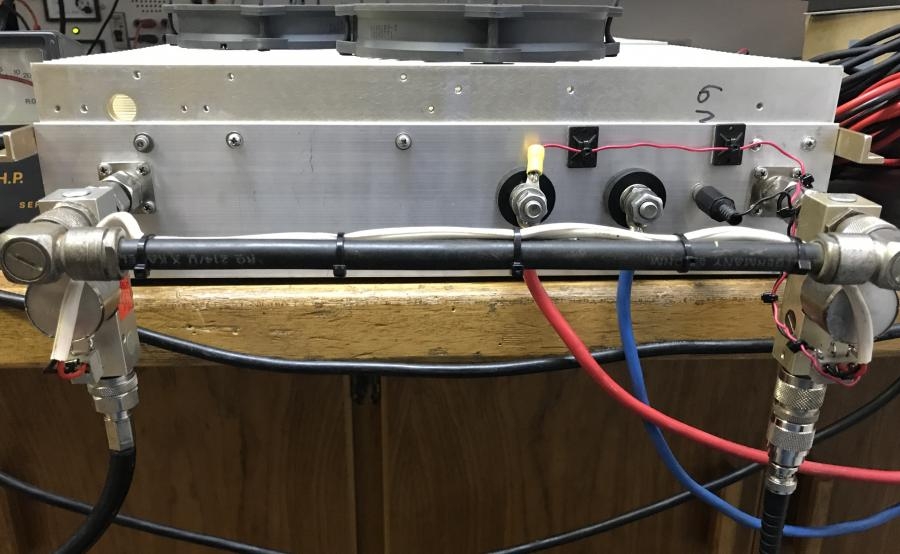
After removing the VSWR board and the connectors I used 25mmx75mm angle aluminium to frame the component side of the unit with enough headroom to move the PC board to the one side as well as to provide a flat front surface for the DC supply attachment and the RF connectors. This is shown in Picture 2 and 3 below. The existing holes in the heatsink were used to attach the aluminium frame. The original side mounted sliders were kept as well to provide rigidity although they could have been left out completely.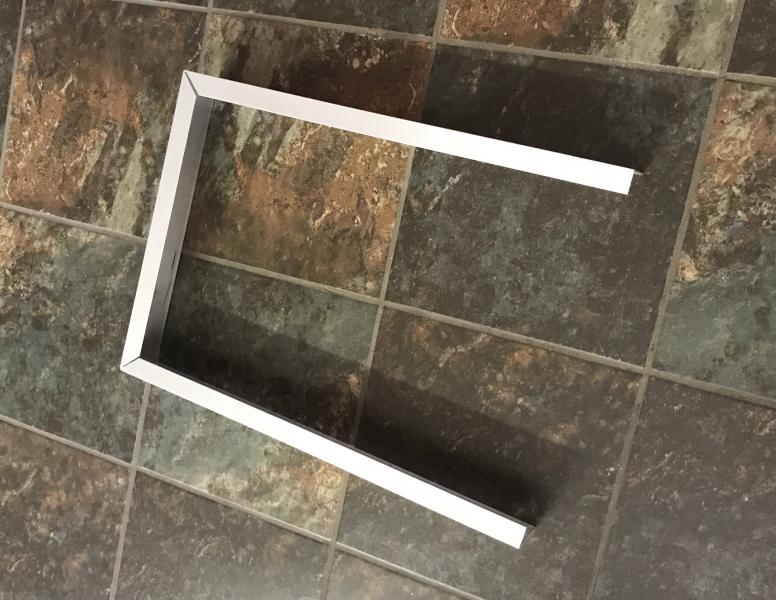
Picture 2: Aluminium box frame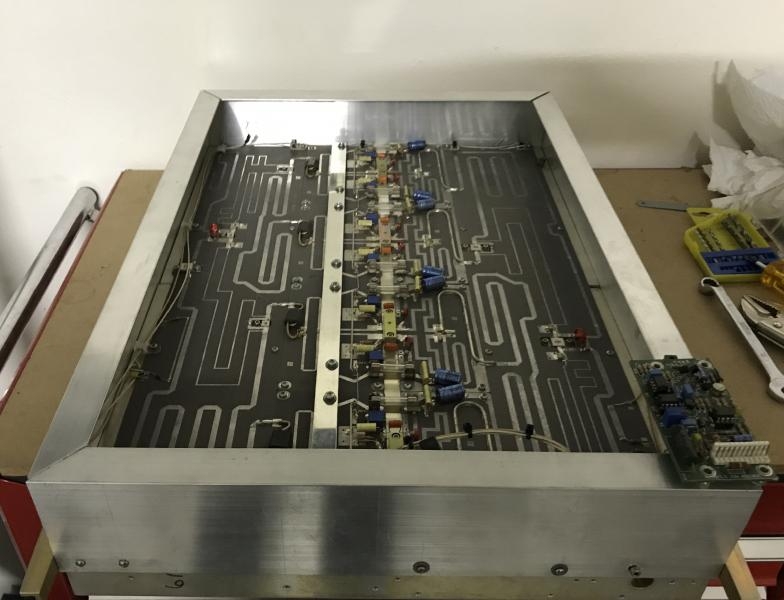
Picture 3: Larcan 6M Amp with Aluminium box frame
After studying the vast information placed on the internet by the Larcan modification pioneers, I took guidance from their excellent modifications and suggestions to break in my unit for daily use.
Most of the modified 6M and 2M Larcan units with pictures available on the internet show an approach more weighted towards functionality rather than to have a desktop showpiece.
As my unit would be operated remotely at my 6M EME station in a closed container there was no need to add much bling to it but I decided to at least try and add some semblance of presentability while keeping functionality intact.
Picture 1 below shows the unit after all the modifications for 6M use has been done but the DC and RF input and output connectors are still stock standard Larcan.

Picture 1: ZS4TX Larcan Amplifier.
After viewing all the available modifications on the internet I decided to remove the clutter at the front of the unit and to find a different place to mount the VSWR/Control board and to devise a different DC connection for the 50V supply rail.
After removing the VSWR board and the connectors I used 25mmx75mm angle aluminium to frame the component side of the unit with enough headroom to move the PC board to the one side as well as to provide a flat front surface for the DC supply attachment and the RF connectors. This is shown in Picture 2 and 3 below. The existing holes in the heatsink were used to attach the aluminium frame. The original side mounted sliders were kept as well to provide rigidity although they could have been left out completely.

Picture 2: Aluminium box frame

Picture 3: Larcan 6M Amp with Aluminium box frame

Comment